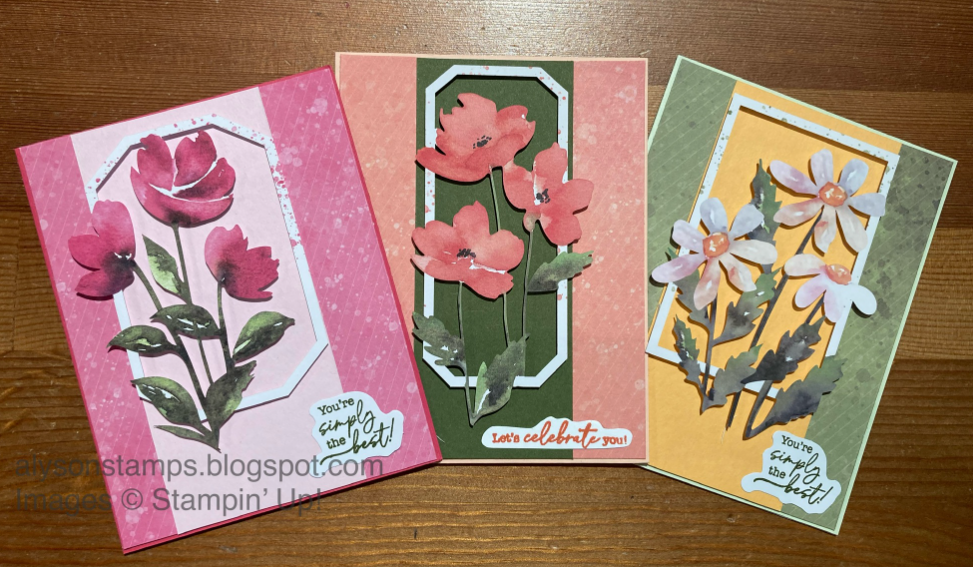
Festive Friday 6x6 One Sheet Wonder Wishing You & Yours Triangles
Check out the YouTube Tutorial here
Both cards have the same ingredients:
Main body Real Red 8½ x 5½, scored at 4¼
Basic White 2 pieces 4 x 5¼ (one for inside)
Reindeer Days DSP - one of the triangles
Granny Apple Green for the Christmas die
Stamps & dies Peaceful Season
Ink Real Red
Real Red & White Adhesive Backed Peppermints
This is the template used to cut the DSP to size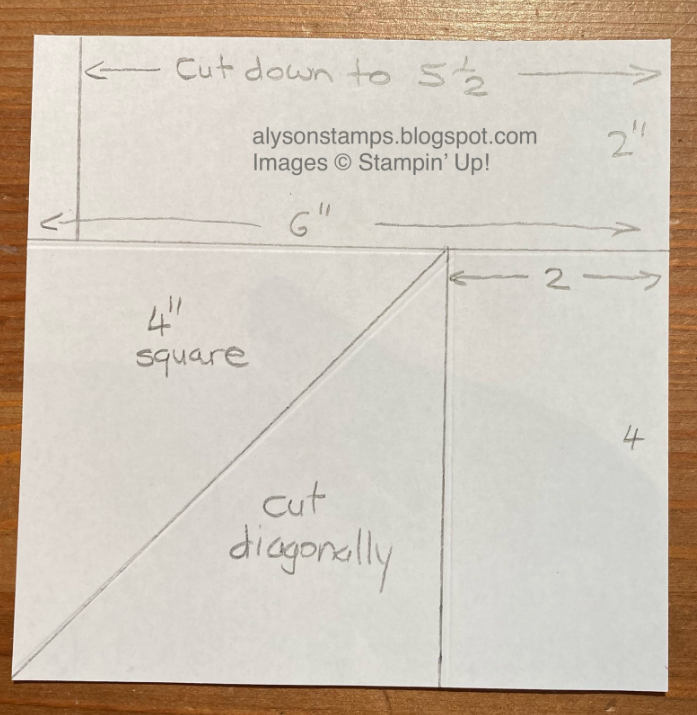
For the other layout, rotate the template 90° and cut that way